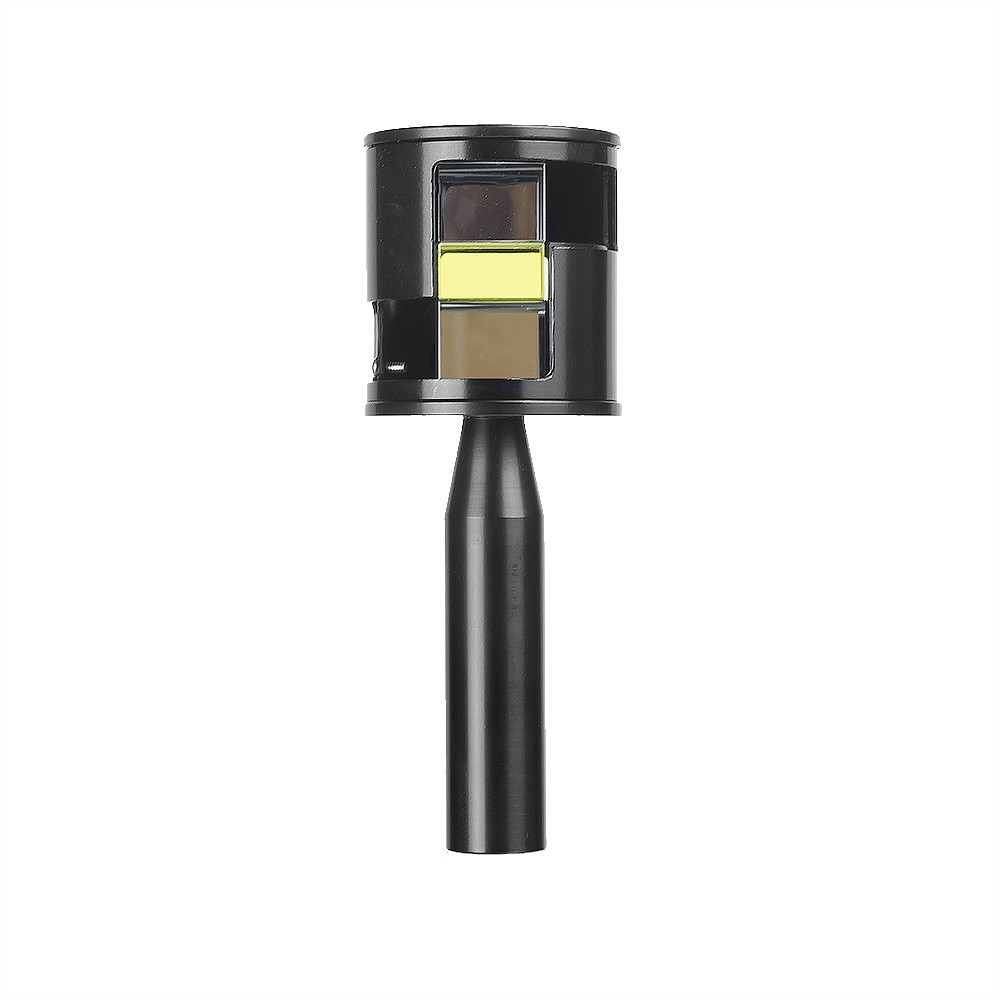
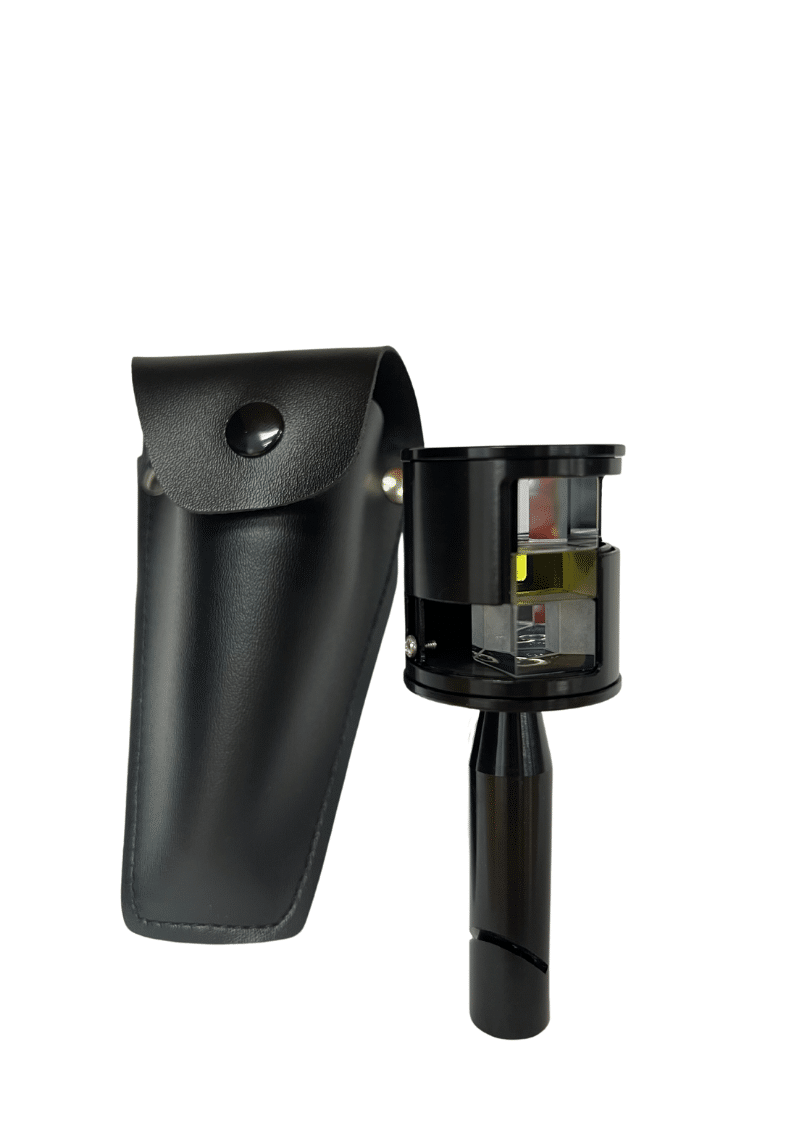
Bear Optical Square

$95.00 + GST

Large double optical square or double prismatic square. Used as a handheld tool for sighting between two poles or stakes. Facilitates a plumb bob and string for positioning over a point. Includes leather carry pouch.

38 in stock (can be backordered)

Bear Optical Square Specifications

The double prismatic Bear Optical Square, also called double prism, has two prisms. The two prisms are placed in such a way that it is possible to look at the same time at a right angle to the left and to the right; in addition the observer can look straight ahead of the instrument through openings above and below the prisms. It is therefore possible to see the base line and the perpendicular line at the same time; no assistant is needed to check if the operator is standing on the base line, as is the case with the single prismatic square.

Setting out a right Angle using a Double Optical Square

Double Optical Square - Figure 1

Step 1 – The observer holds the instrument vertically above peg (C) on the base line. This can be checked with the plumb bob (see below) The instrument is slowly rotated until the image of pole (A), is in line with the image of pole (B)

Double Optical Square - Figure 2

Step 2 – The observer then directs the assistant, holding pole (D), in such a way, that seen through the instrument, pole (D) forms one line with the images of poles (A) and (B) (see below) The line connecting pole (D) and peg (C) forms a right angle with the base line.

Double Optical Square - Figure 3

Setting out a Perpendicular line using a Double Optical Square

Double Optical Square - Figure 4

Step 1 – Looking through the instrument the observer moves slowly trying to find a position on the base line. When the images of both poles (A) and (B) appear, the observer stops and rotates the instrument slowly until the images of poles (A) and (B) form one line (see below). The instrument is then in line with poles (A) and (B) of the base line.

Double Optical Square - Figure 5

Step 2 –The observer moves along the base line towards pole (A) or pole (B). He stops when pole (C) can be seen through the instrument and forms one line with the images of poles (A) and (B) (see below).

Double Optical Square - Figure 6

Step 3 – When the correct position of the instrument is found, peg (D) is driven into the soil right under the plumb bob. Peg (D) and pole (C) form the line perpendicular to the base line (see below).

Double Optical Square - Figure 7

Get in touch

Contact Us

Request more info about: Bear Optical Square

Get in Touch

Please contact us if you require any further information.

  • This field is for validation purposes and should be left unchanged.